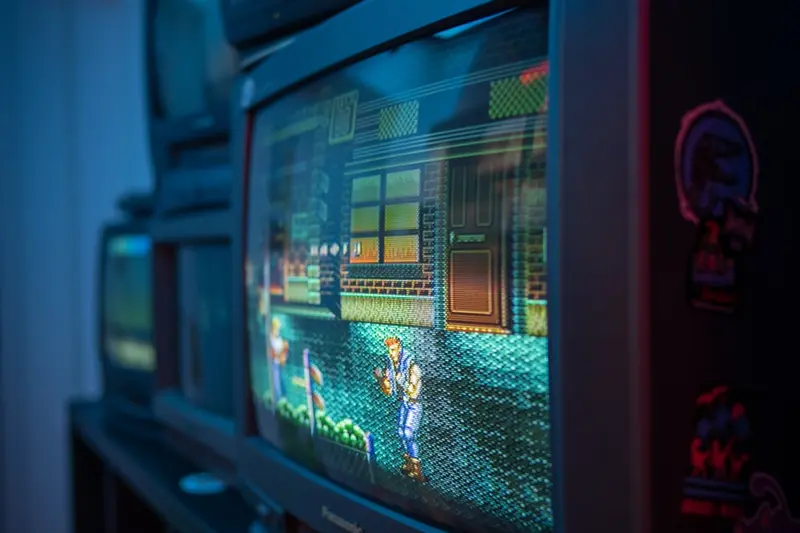
🎮 Retro Gaming Emulation: Simple Guide
Want to play classic games on Alpine Linux? Awesome idea! 😊 This tutorial shows you how to set up retro gaming emulation. Let’s bring back the classics! 🕹️
🤔 What is Retro Gaming Emulation?
Retro gaming emulation lets you play old console games on modern computers.
Emulation is like:
- 📼 Playing old VHS movies on modern TVs
- 🎵 Listening to vinyl records on digital players
- 📚 Reading old books with new reading glasses
🎯 What You Need
Before we start, you need:
- ✅ Alpine Linux with desktop environment
- ✅ Game controller (optional but recommended)
- ✅ ROM files (legally obtained)
- ✅ About 2GB free disk space
📋 Step 1: Install Emulation Software
Install RetroArch Emulator
Let’s install the ultimate retro gaming platform! 😊
# Update packages
apk update

# Install RetroArch
apk add retroarch

# Install common emulator cores
apk add libretro-nestopia libretro-snes9x

# Install additional cores
apk add libretro-mgba libretro-mupen64plus

# Install audio system
apk add alsa-utils

# Create ROM directories
mkdir -p ~/Games/ROMs/{NES,SNES,GBA,N64}
What this does: 📖 Installs complete retro gaming emulation system.
Example output:
✅ RetroArch emulator installed
✅ Console cores ready
✅ Audio system configured
✅ ROM directories created
🛠️ Step 2: Configure RetroArch
Set Up Gaming Environment
Let’s configure RetroArch for the best gaming experience! 😊
# Start RetroArch to create initial config
retroarch --menu

# Configure audio (in RetroArch menu)
# Settings > Audio > Audio Driver > ALSA

# Configure video (in RetroArch menu)
# Settings > Video > Video Driver > GL

# Configure input (in RetroArch menu)
# Settings > Input > Input User 1 Binds

# Test with built-in content
# Load Content > Download Content > 2048
Expected Output:
✅ RetroArch GUI launched
✅ Audio and video configured
✅ Controller input working
✅ Test game playable
🎮 Let’s Try It!
Time to play some retro games! 🎯
# Download free homebrew ROMs for testing
cd ~/Games/ROMs/NES

# Example: Download free ROM (replace with legal ROMs)
# wget http://example.com/free-homebrew-game.nes

# Launch RetroArch
retroarch

# In RetroArch:
# 1. Load Content
# 2. Navigate to ROM directory
# 3. Select ROM file
# 4. Choose appropriate core
# 5. Start game!
You should see:
✅ RetroArch main menu
✅ ROM loading successfully
✅ Game running smoothly
✅ Controls responsive
Awesome work! 🌟
💡 Simple Tips
- Legal ROMs only 📅 - Only use ROMs you legally own
- Controller setup 🌱 - Configure controllers for best experience
- Save states 🤝 - Use save states to save progress anywhere
- Performance tuning 💪 - Adjust settings if games run slowly
🏆 What You Learned
Great job! Now you can:
- ✅ Set up retro gaming emulation on Alpine Linux
- ✅ Configure RetroArch for multiple consoles
- ✅ Play classic games with modern controls
- ✅ Preserve gaming history!
Keep gaming and enjoy the classics! 💫